There is a whiff of summer in the air - the weather hasn't fully committed as yet, but over the Easter holidays I decided to try and be (optimistically) prepared! The bank holidays seemed like a perfect time to indulge myself and stitch one of those projects that have been in the 'would like to do' pile for longer than I care to consider :)
 |
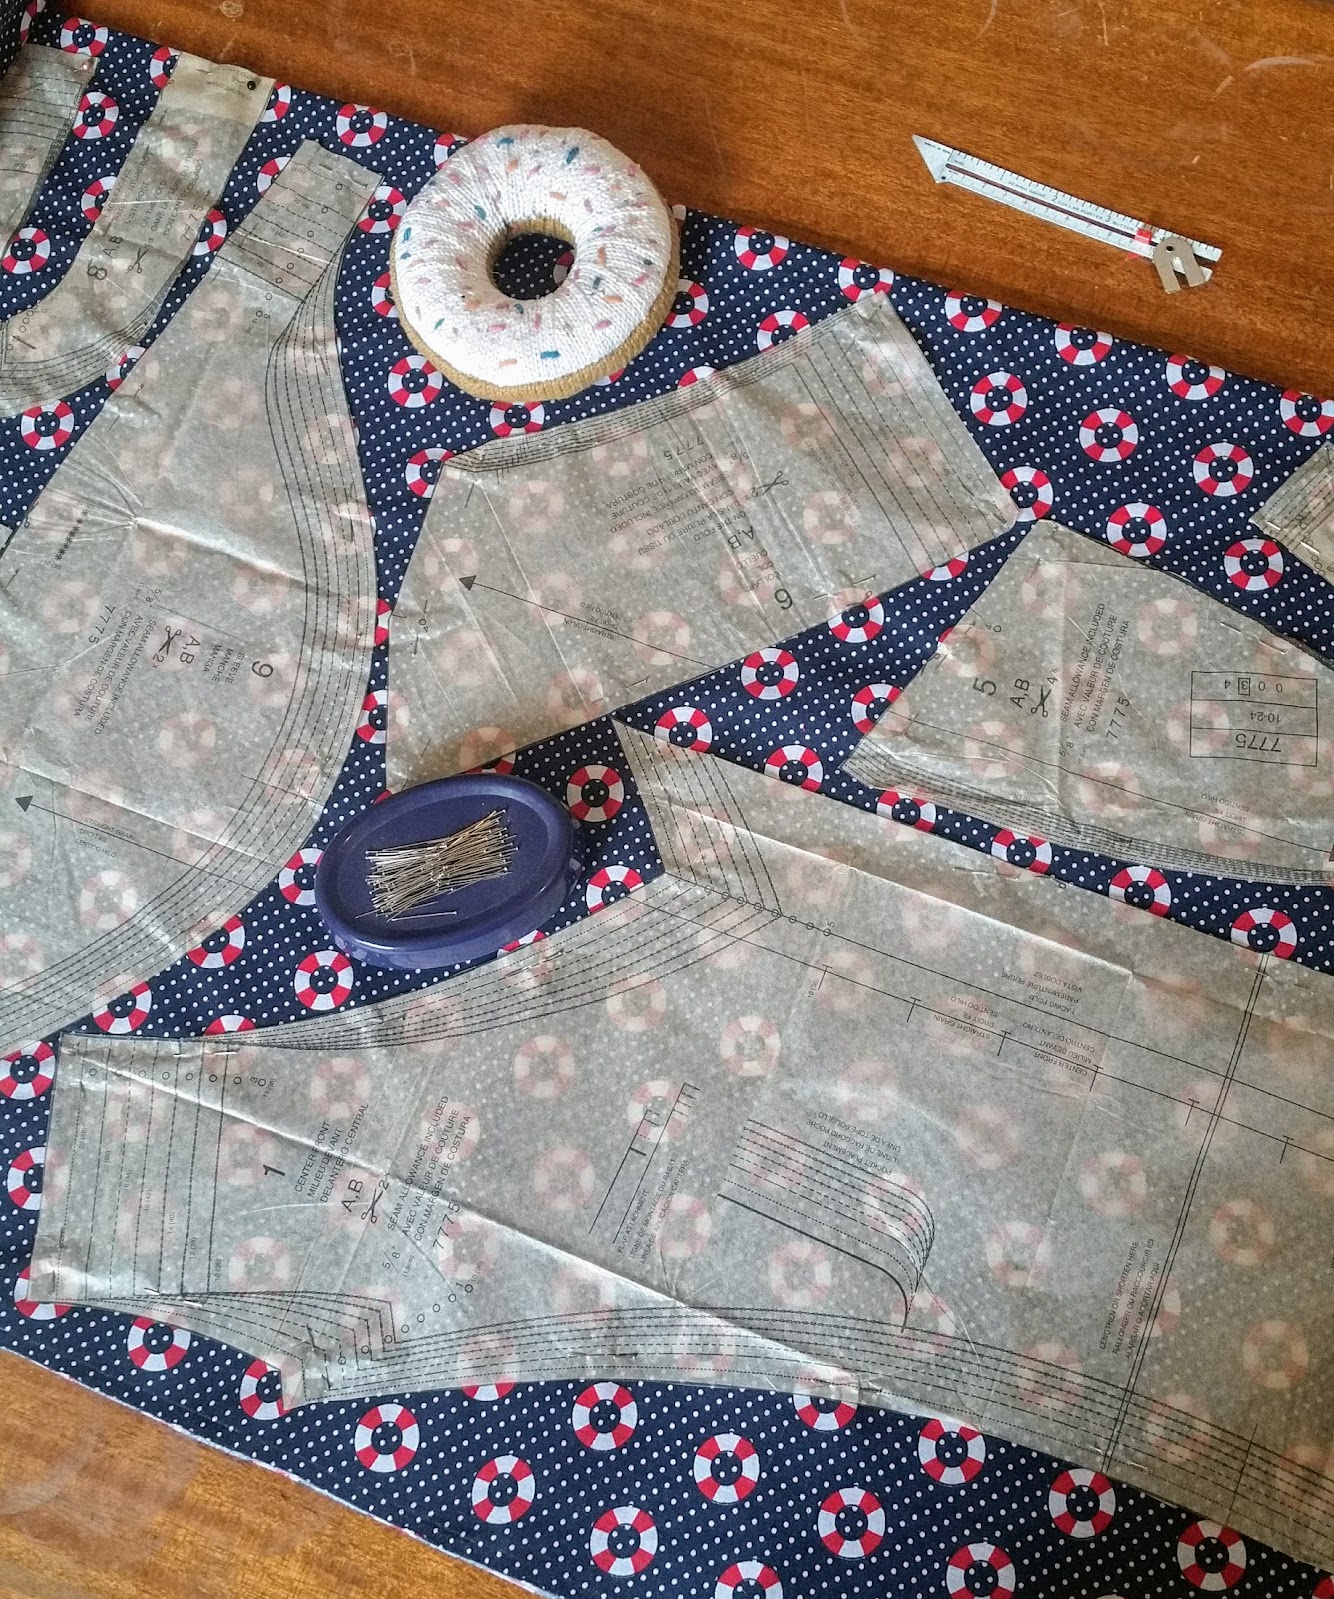
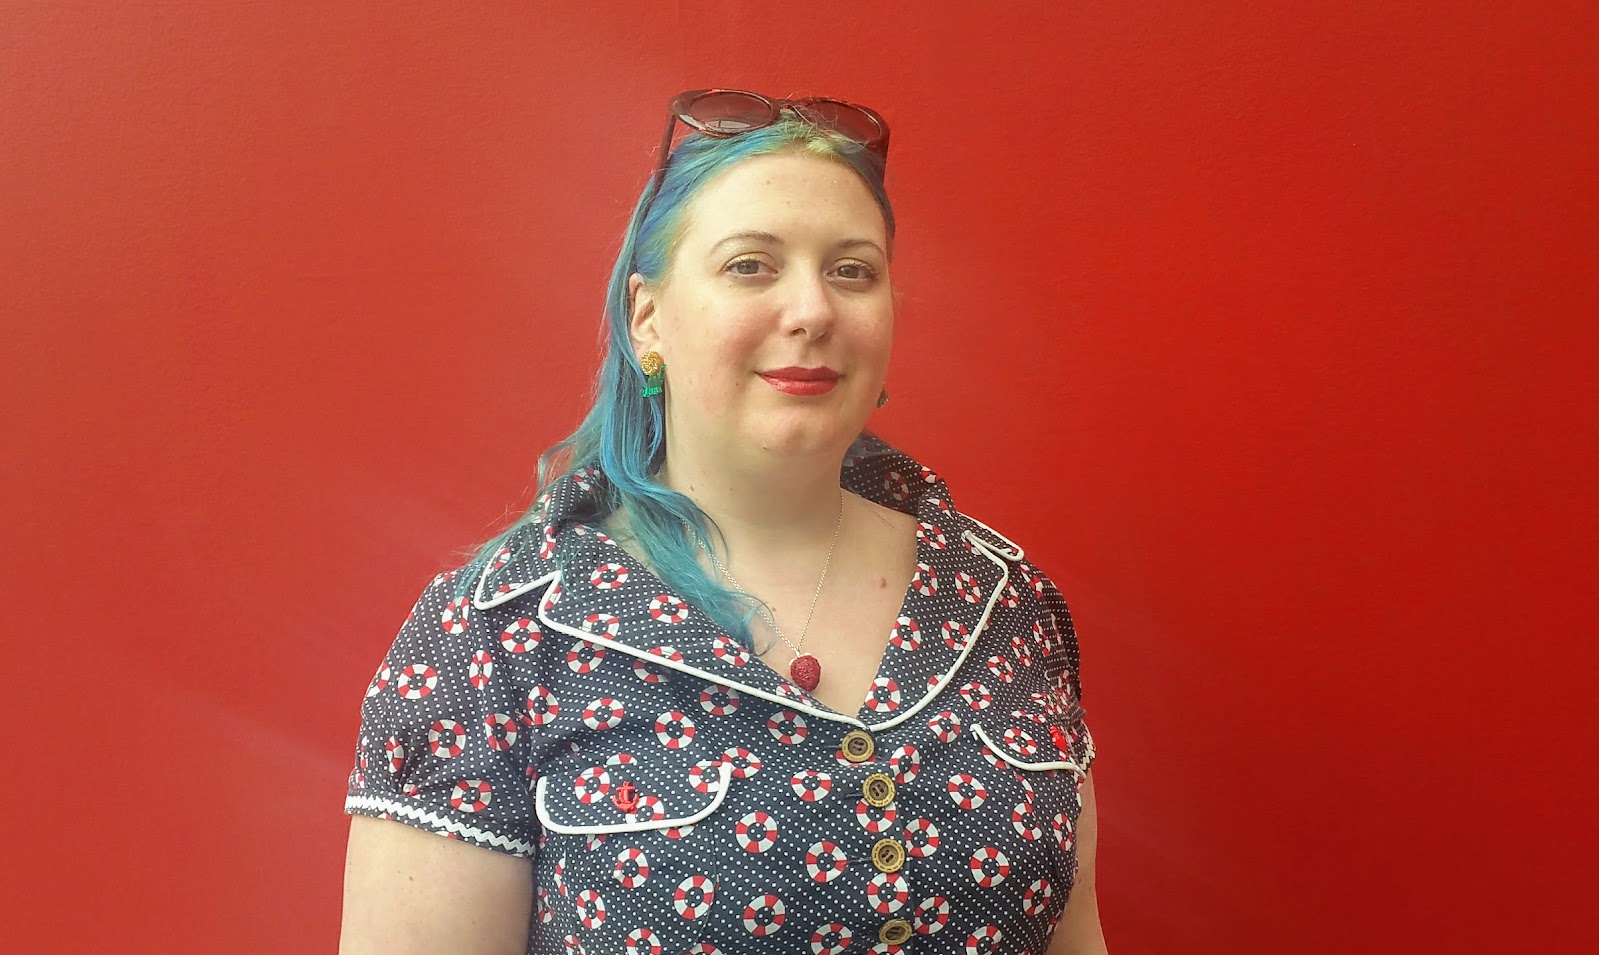
| Burda 7775 & nautical print dress cotton. |
|
While the Burda 7775 does not contain anything overly tricky or fiddly, it is definitely more complex than my first glance had taken account for. Burda patterns are not exactly generous with their instructions and instead of notches, they give points that need to be tailor tacked then numbered which is much more time-consuming! (I didn't bother with most of them except for those around the collar, and just referred to the pattern pieces as I went along.) Also, ALL the seams are top-stitched, so sewing time is nearly doubled.
 |
| The doughnut is a pin-cushion - not a mid-cutting snack! |
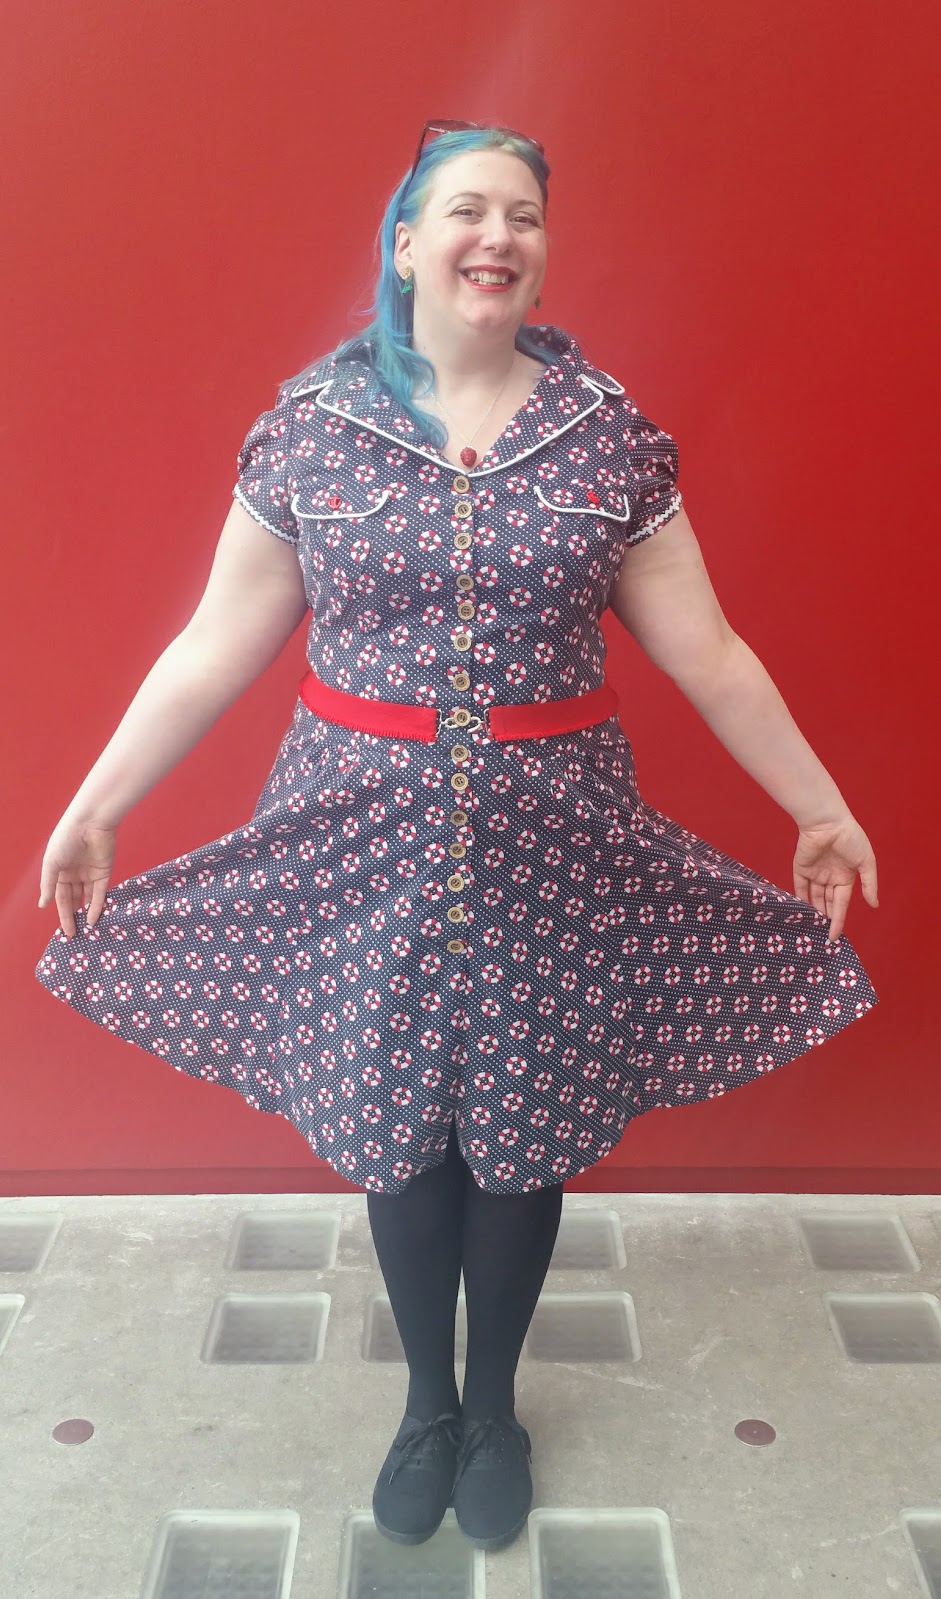
I began to realise that this was going to be a bit more than the quick one-day sew as soon as I unfolded the pattern and saw how many pieces were actually involved! As I'm 6 foot tall, I added an extra 2" to the hemline. I opted not to make the matching belt or belt loops as mine is not a figure that appreciates a dropped waist. I toyed with the idea of cutting the top and skirt panels as one piece to avoid any definition at the low-waist at all, but the busyness of the fabric pattern meant it would be quite forgiving in this respect, and I always like my first make of a pattern to be as true to original designer's intention as possible before I start to experiment with my own adaptions. I find I learn more that way.
 |
| Sewing gauge to the rescue! |
Part of the pattern prep is to mark your own button placements on both the bodice and skirt front panels (unless you're making the size 10, which they have kindly done for you). This was my sewing gauge's time to shine! Without it I would surely have gotten tetchy quite quickly.
Button hole placement for sizes other than 10 were not marked on the pattern, and the instructions to place your own looked like they made sense upon first reading, but I found that it took a while to get placements I was sure of.
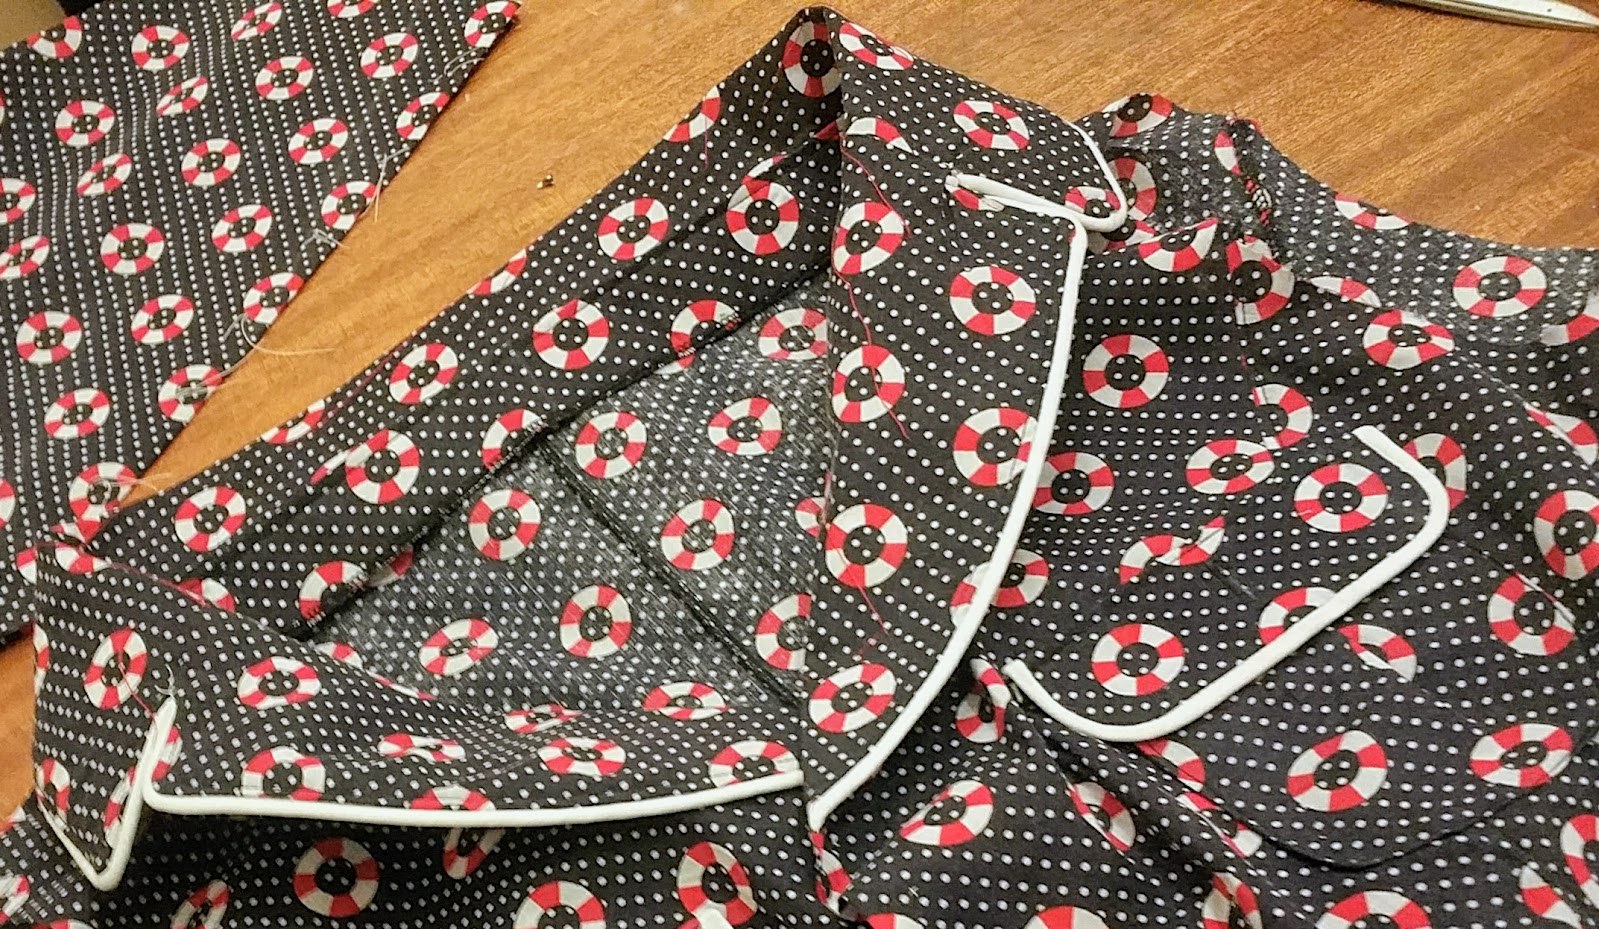
Assembling the collar was nice and easy, though I did complicate it for myself a little by adding piping. (I felt like the busy pattern needed breaking up a little.) Luckily I had some white piping that I had made left over from a previous project a while ago, hurrah for hoarding! I used a medium-thick iron-on interfacing, and didn't skip any of the steps involving rolling the collar and basting - my experience with coats has taught me how valuable these steps are.
 |
| A cording foot for your sewing machine is so useful for details like this. |
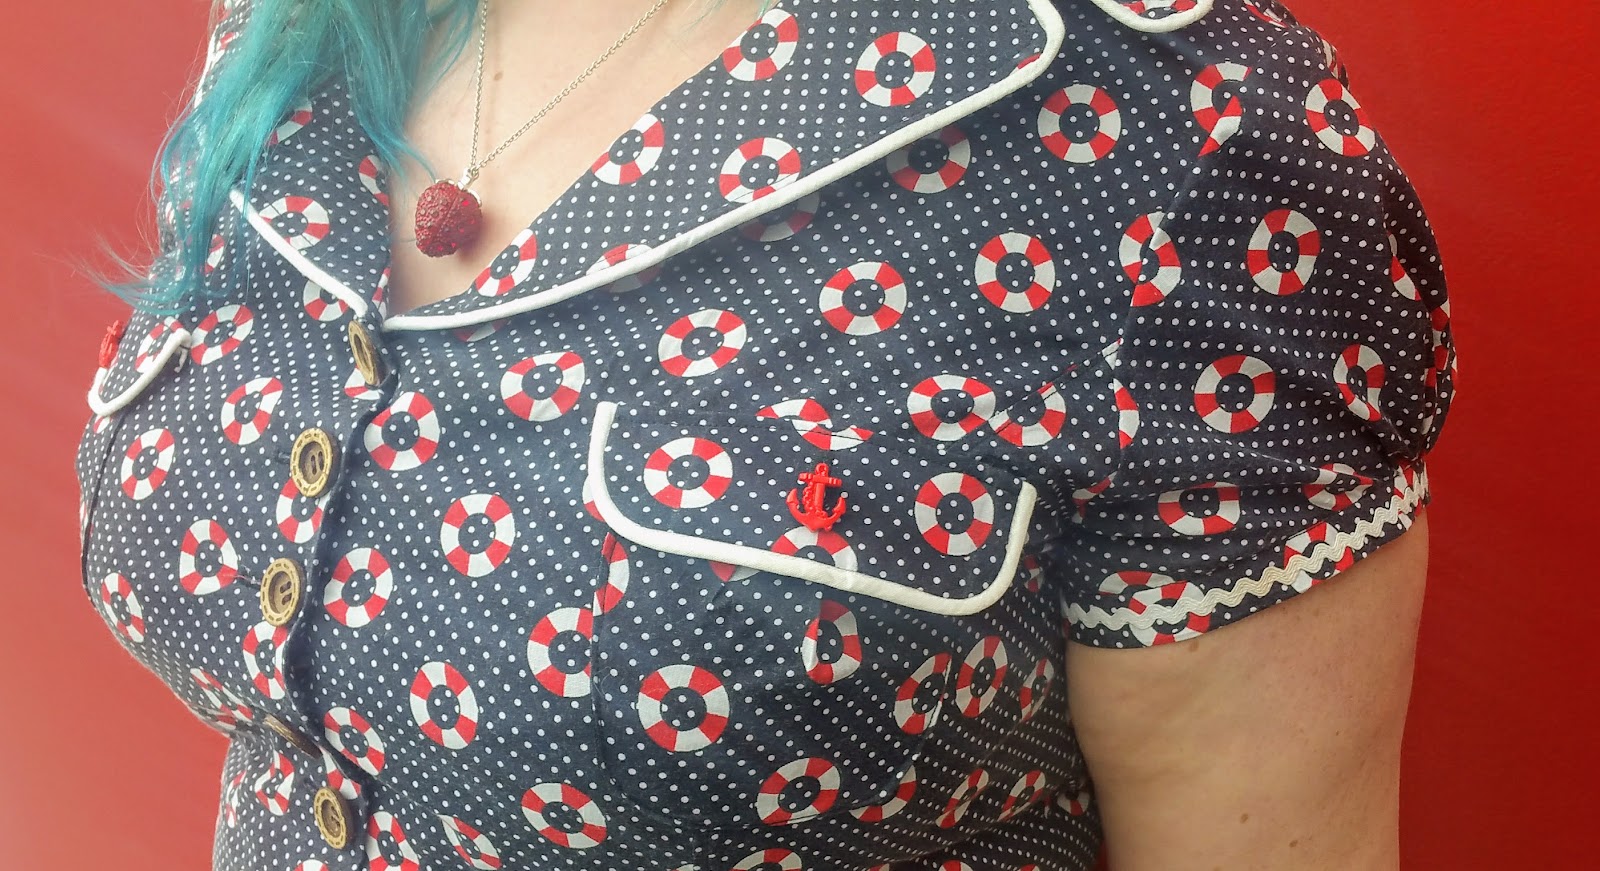
The pockets on this pattern are an adorable (if time-consuming) addition to this dress. While too small to hold much more than a lip-balm, the pleats make them cute, and a perfect spot to add a couple of cute buttons that would be overwhelming if used for the main opening of the dress.
 |
| Of course I chose anchor buttons for this detail! |
Again, I used piping to make the design detail stand out, and my overlocker was essential for the pocket edges - trying to finish all the raw edges on this unlined dress without it would have made it even more time-consuming! I also added white rik-rak trim to the sleeve bands, because who doesn't love a bit of kitsch rik-rak?
 |
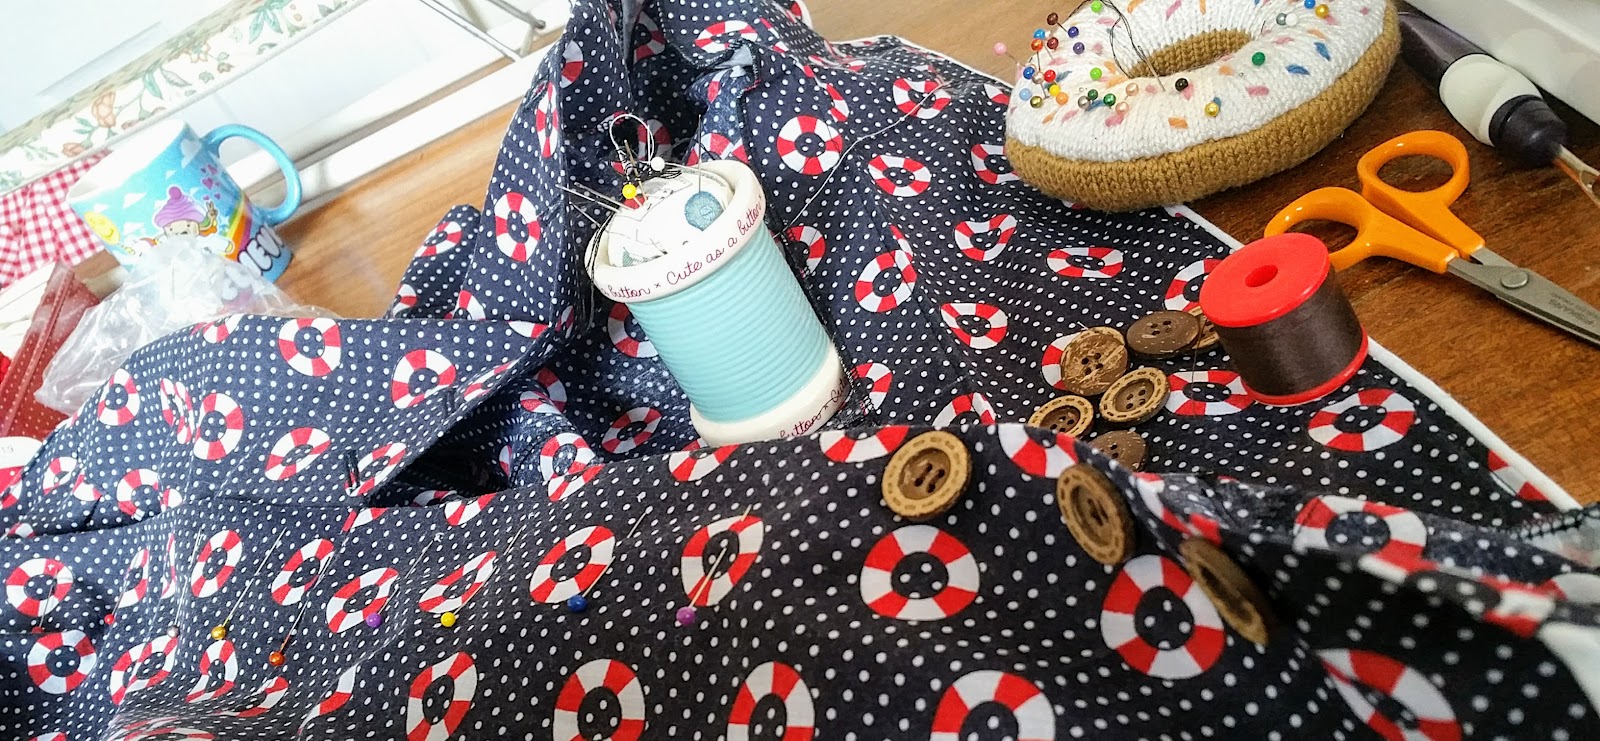
| Buttons for days! |
The choice of buttons for the centre front was much more difficult. I was very torn between choosing buttons that stood out (such as white, or red), or making them almost invisible against the main fabric. I also wanted to somehow stick with my nautical theme without making the 'novelty' aspect overbearing. In the end I was drawn to some wooden buttons which were neither outrageous nor subtle, and had (in my mind at least) some tenuous connection to boats. I'm really pleased with how they looked in the end, but again - 15 buttonholes and buttons are frustrating slow to do when you're so close to the finish line (as you can tell, I can be a smidge impatient!)
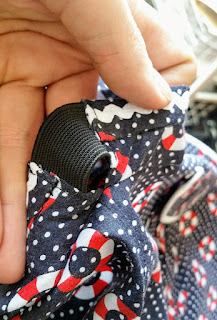 |
| Under-arm extension to sleeves and rik-rak. |
My final tweak to the pattern was to give myself a little more room in the sleeves. The dress is a little snug all over but as I'm trying to lose weight at the moment, this was desirable. The sleeves were a bit uncomfortably tight though, so I opened up the underarm sleeve seam and inserted some elastic. It's invisible when worn, and means I can go for a long-armed swing-out on the Lindy-Hop dancefloor without worrying about popped stitches.
The design of the dress means that the collar stands quite high and wide on the neck, which feels odd at first, but is quite feminine and flattering as it exposes more neck and collar-bone. It didn't sit well under my close-collared coat though - I'll be bearing that in mind for its next outing.
 |
| A wide and prominent collar. |
I made a quick belt from wide red elastic for this dress, to draw attention to my waist and to draw it in should I wear this with a corset in future. Also it seems like a handy thing to own. Overall I'm really pleased with how it has come out and although I spent more time on it than I had planned, I would make it again, and it's always good to make something for my own wardrobe.
 |
| Piping and rik-rak details. |
 |
| The finished article on an (almost) sunny day! |


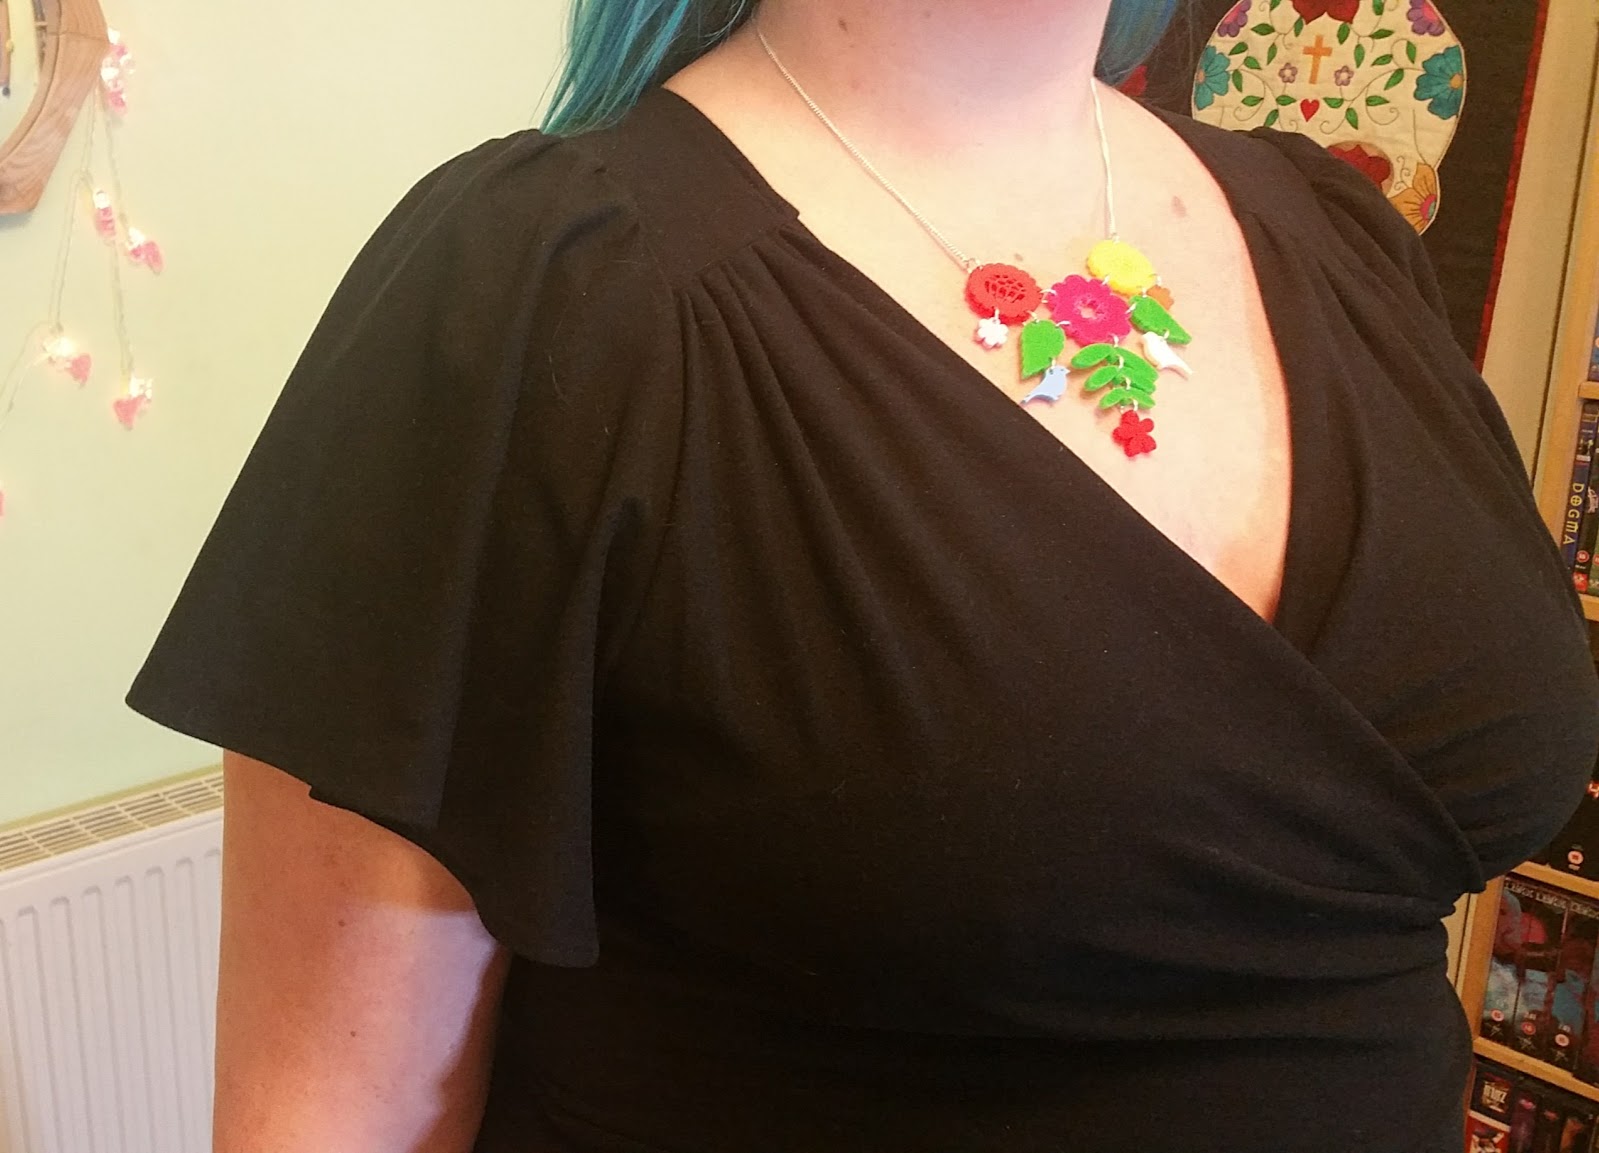
 I haven't done a huge amount of work with stretchy knit fabrics as I find them harder to control than woven fabric, but you only learn by trying don't you? As a result, there's not a lot of stretch fabrics in my stash to choose from that isn't almost suimsuit fabric. In the end I went with a plain black stretch short-nap velour. Overall it wasn't too much of a problem. I had to stitch slowly to avoid any slipped stitches, but it certainly wasn't the worst fabric to do this with.